It’s an often (over) used quote in various forms across the internet but this morning in a Facebook conversation it actually seemed apt to use it.
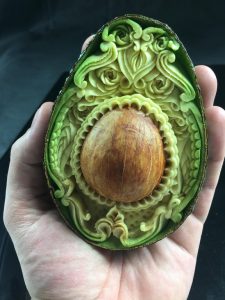
A friend of mine had posted a picture of a hand carved avocado that judging by google is all over the internet, so I’m not too worried about reposting it here. (If it’s your image, please ping me a msg and I’ll happily credit it to you.). It’s an amazing bit of food art that took an hour to make.
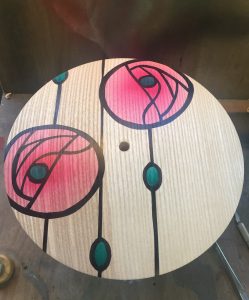
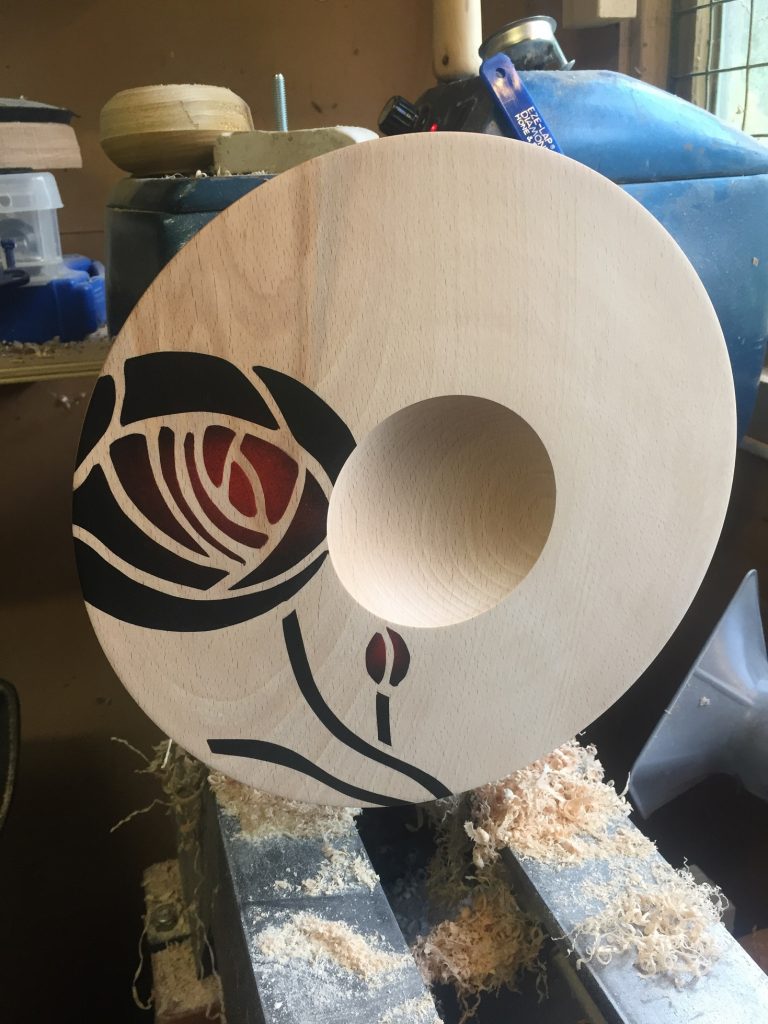
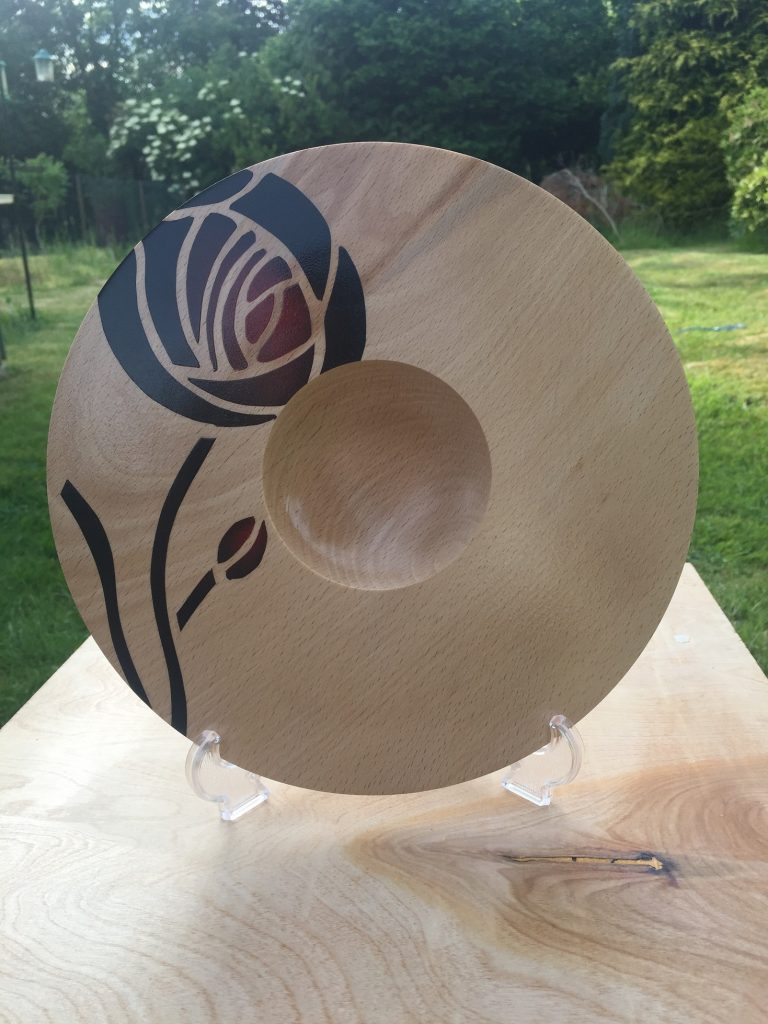
One of the comments on the photo was “One lost hour..” which is what triggered my response and also got me to thinking about the work I did in the workshop yesterday, playing with and developing an idea that takes the Rennie Rose you’ve seen in it’s previous form to an image that was influenced by some pictures of Glasgow Style stained glass panels.
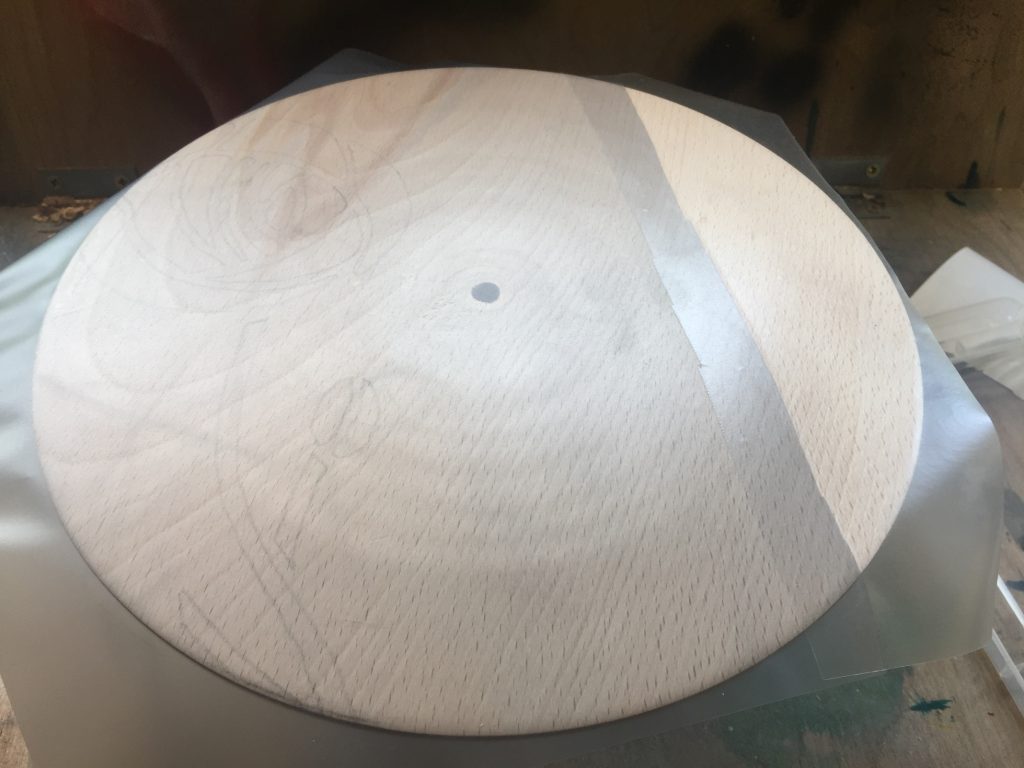
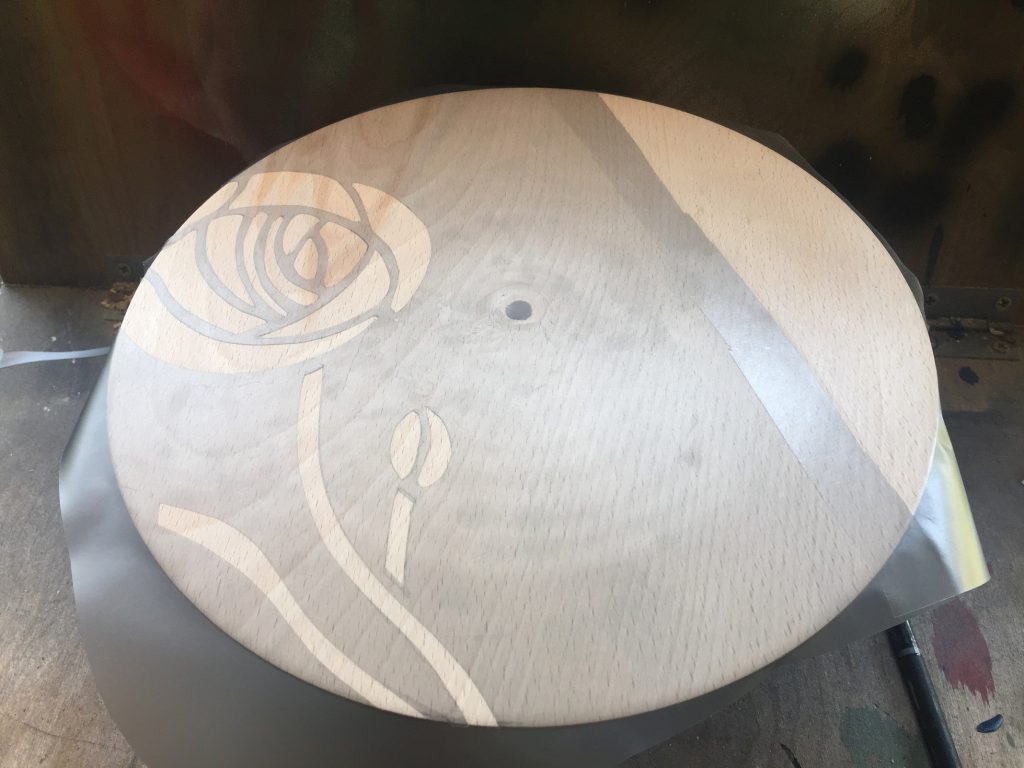
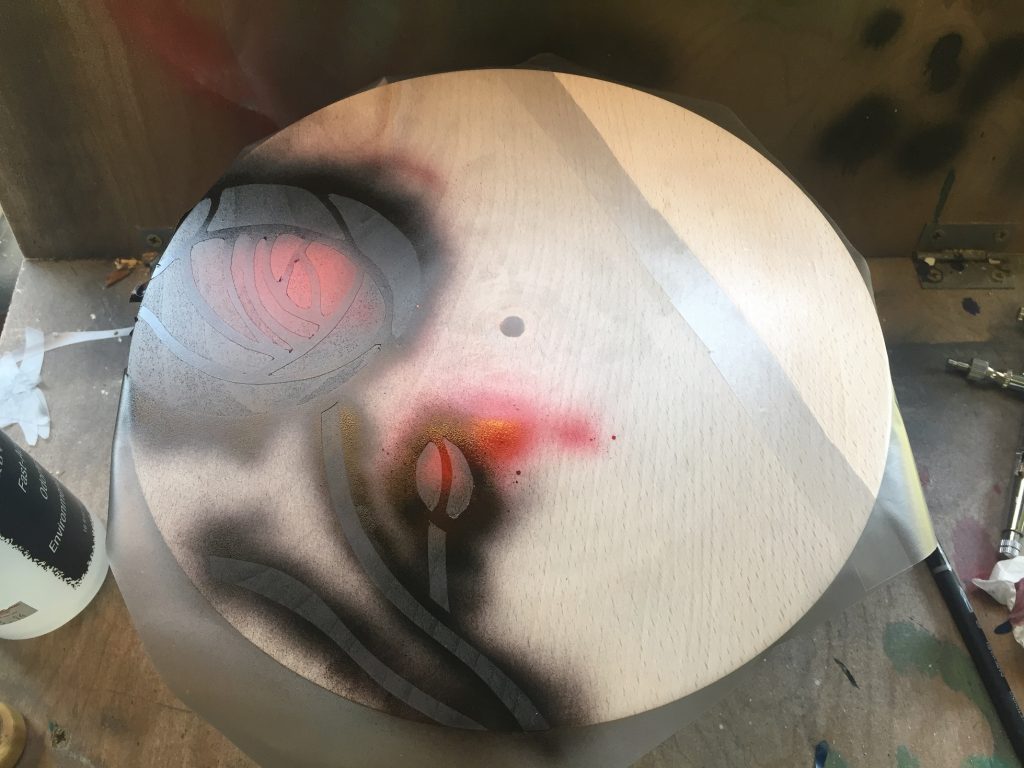
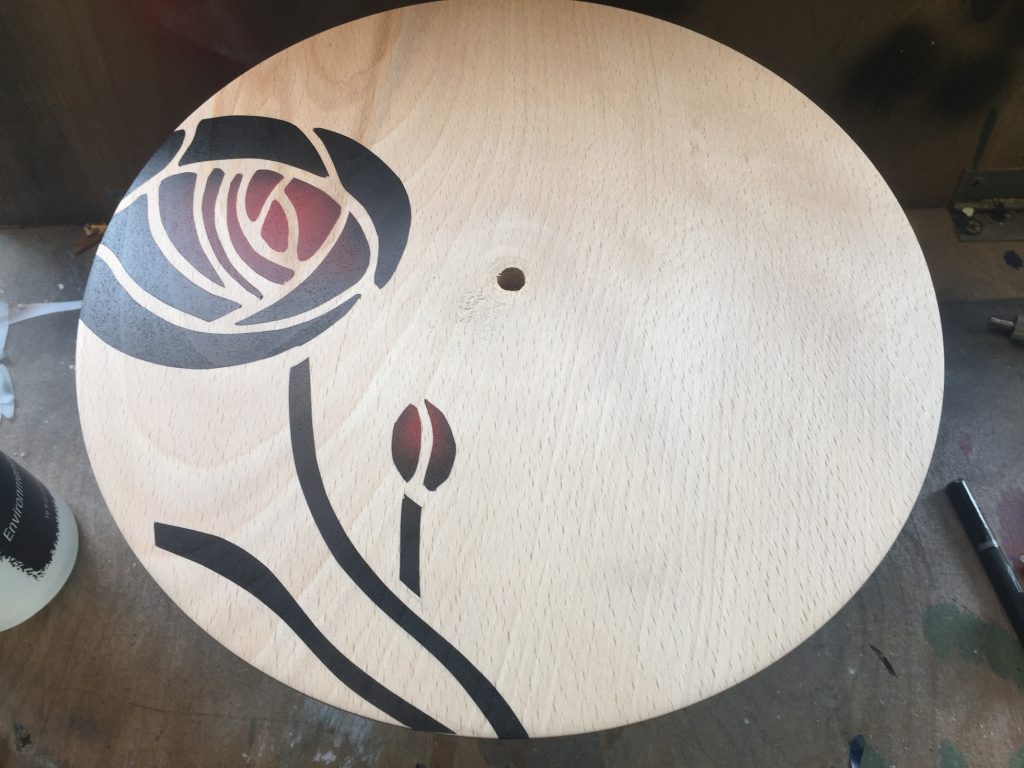
I had worked recently on the computer to create a vector based image of the panel that I had chosen to try and re-create, and on the computer the image worked quite well. What I didn’t account for is my lack of practice with the scalpel when it comes to cutting these Friskets out! (Sharp blades are the key!)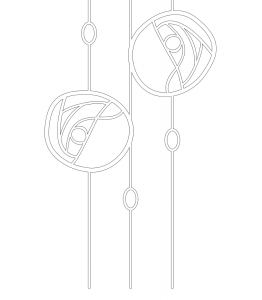 There’s a lot of long sweeping curves on this image and if you don’t keep the knife moving smoothly it becomes very visible once you’ve painted the object and removed the mask. Likewise on the straight sections, the use of a straight edge is important.
Whilst I wasn’t happy with the finished image on the bowl, I decided to remove the bowl form anyway so that I could see how the image developed. This gave me a chance to play with proportions and to practice some of the more delicate cuts that are needed when working on an already decorated piece.
With the usual size bowl removed, the piece did not feel right and the bowl needed to be widened. It was at this point I had what the artist Bob Ross used to call “a happy little accident” that resulted in quite a major change to the bowl size. Taking this design opportunity for what it was, I decided to create a deeper bowl with a slight undercut to practice a cut that I’m not overly comfortable with.
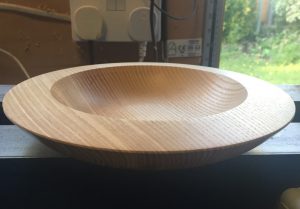
This unfortunately upset the balance of the design completely and with a little prompting from the long suffering other half, decided to remove the design completely and turn a test/practice piece into a really nice looking Ash bowl.
In the end, over the course of a few hours I was able to test and refine a number of skills, test a couple of new surface finish techniques that I wasn’t sure would work on airbrushed acrylic, challenge myself with some difficult cuts that I’m not comfortable with and in the end still create a pleasing bowl form that I would happily keep.
So whilst the destination changed slightly and I didn’t end up with the original intention, the journey itself was challenging and rewarding. There is no such thing as wasted time when accidents happen, merely an opportunity to test, challenge and develop yourself further.
Paul.
